
I came across the monthly challenge currently LIVE on Artful Crafting blog…..STENCILLING…
The Design team at Artful Crafting has made such lovely projects! HATS OFF TO ALL OF YOU!GORGEOUS PROJECTS!!
So on an impulse i thought that i should FINALLY make use of all the stencils currently in my stash all brand new =P well i didnt use all of them here but one…but IA more of my posts will incorporate more of stencils!
So here is my entry….
A lovely 4-step card LOVE themed…..


i have to admit that when i made the card base and had not embellished it i was kind of skeptical as to what exactly would become of it…even was at loss for  sometime as to what to do with it…..but i think it turned out prettttyyyy! Here is another picture =)
Here is what i did:
1. I used the template from Frommycraftroom for the 4 step card….she has some other lovely templates and tutorials =)
2. I followed the template and cut out and assembled the card measuring about 6×6.
3. For the front and the back cover i used OffWhite cardstock i got from Shereen Apa at Artful Crafting. For the inside i used a gorgeous paper from Colorbok’s Rosewood.
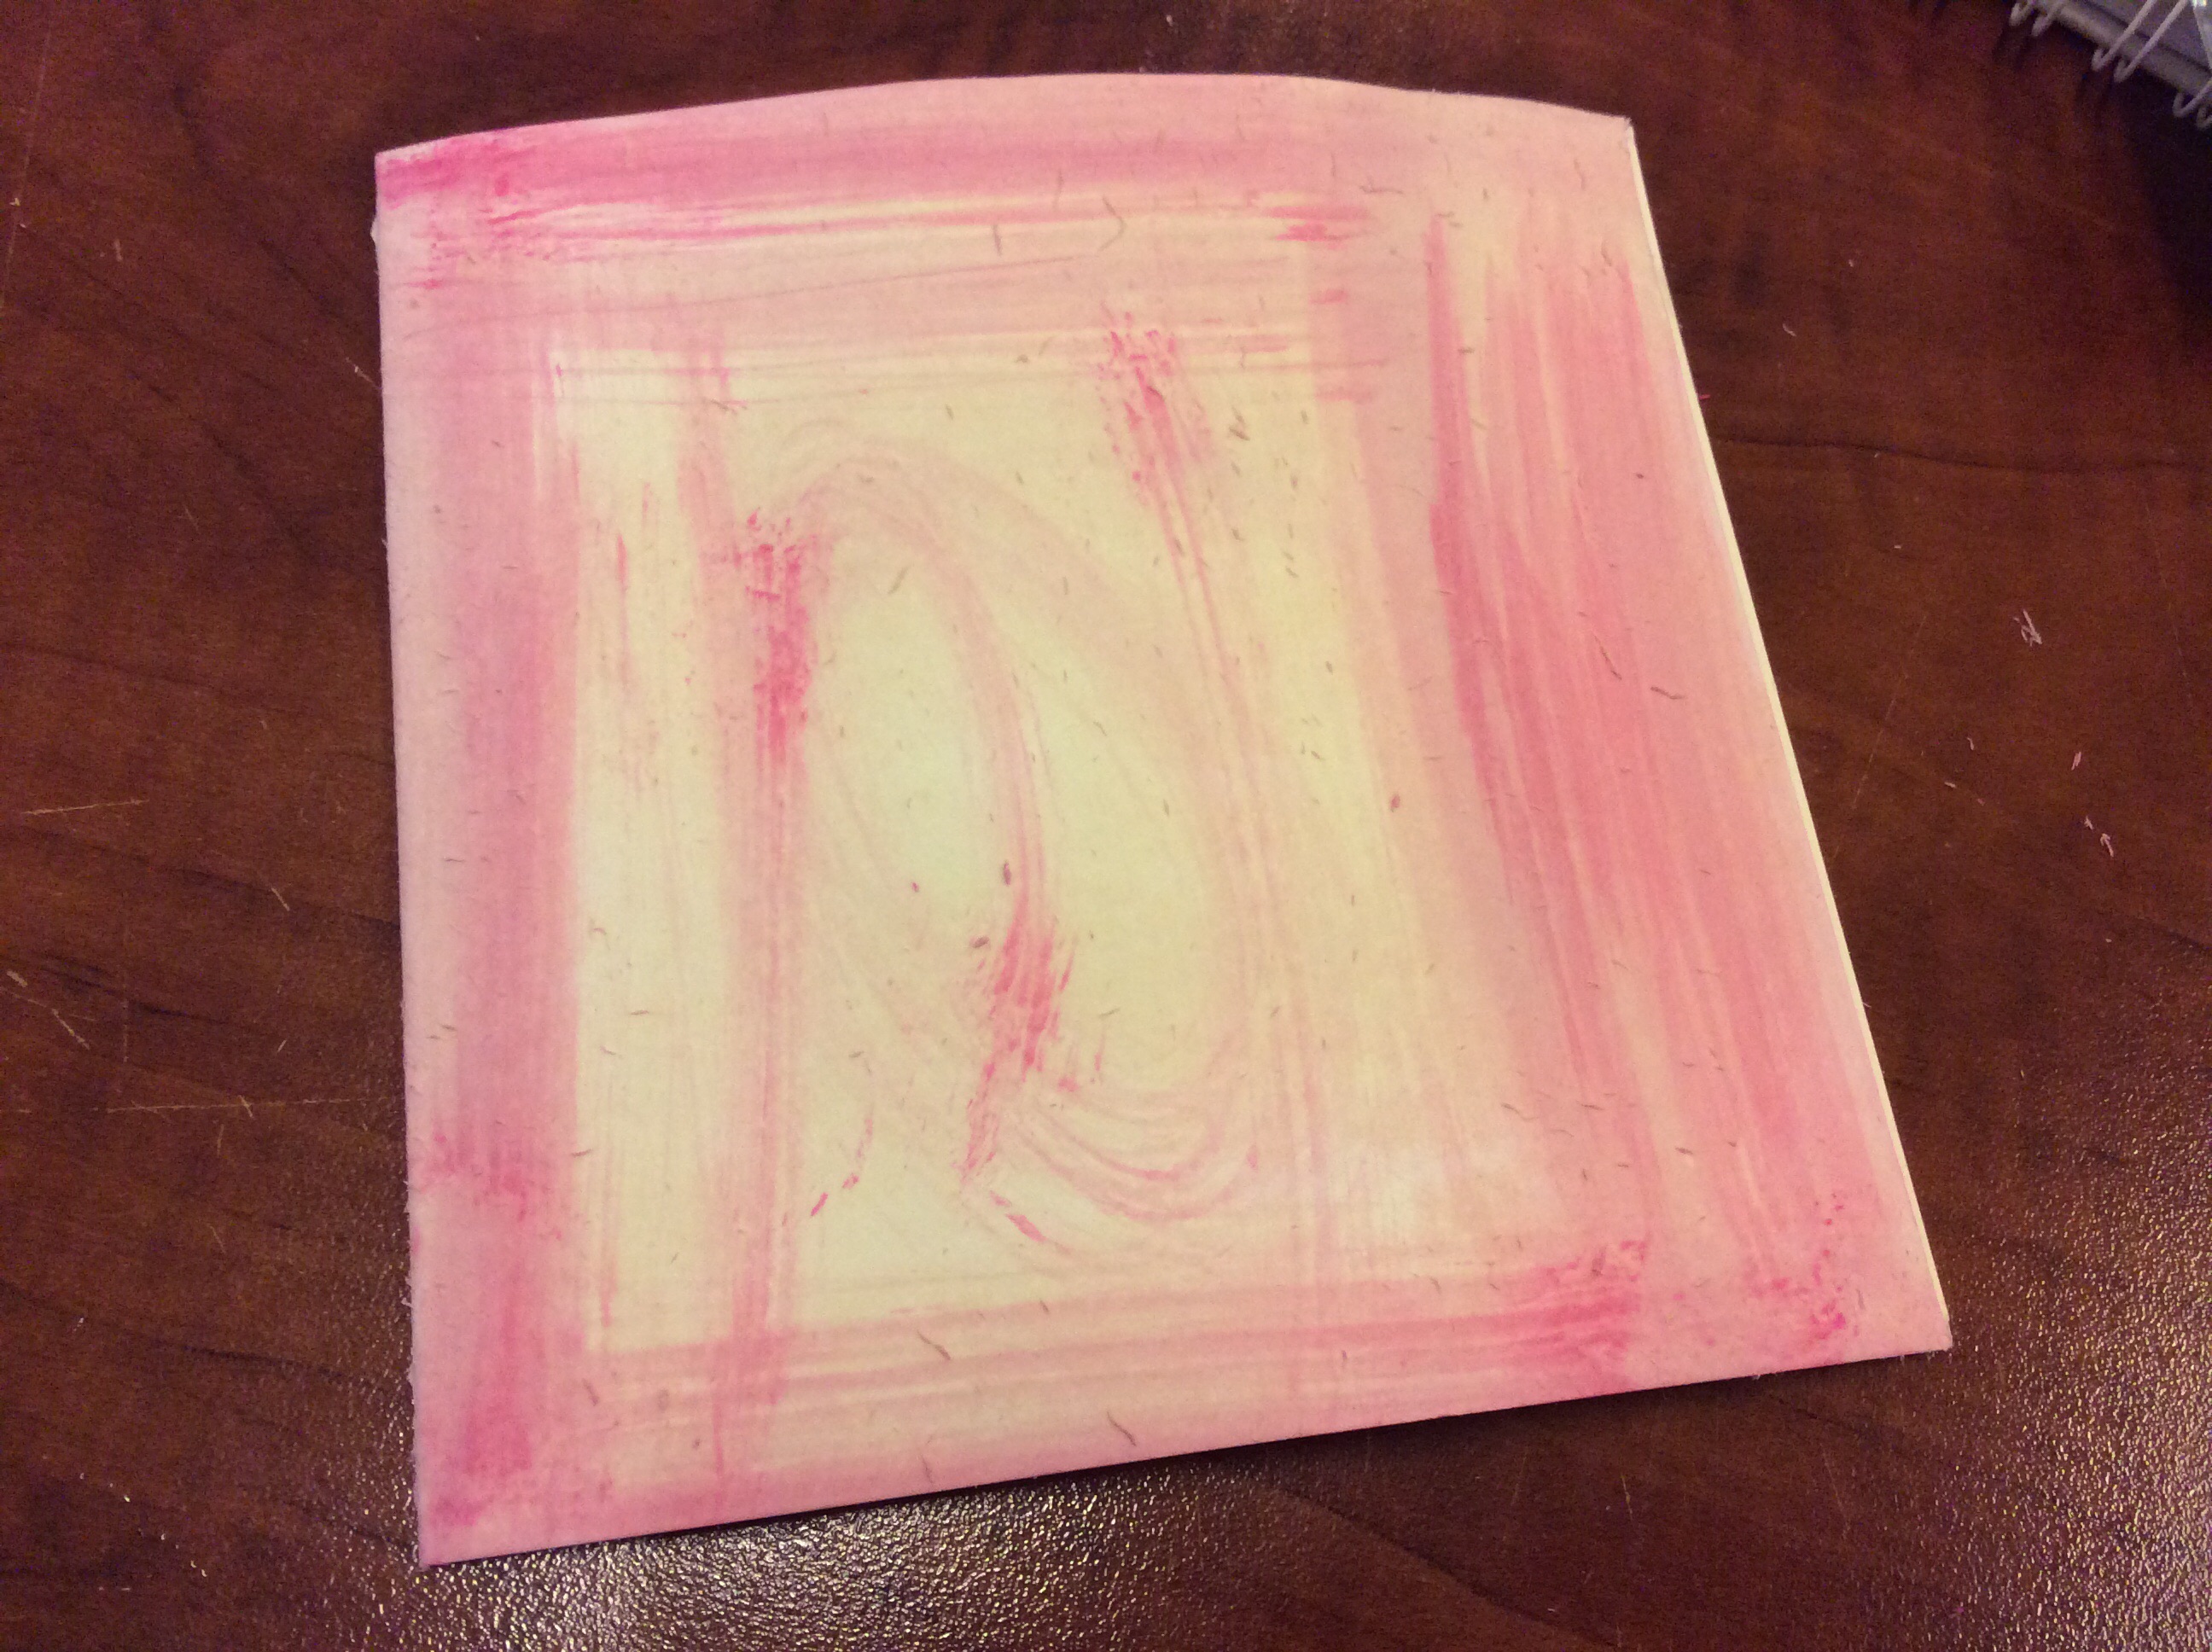
4. I randomly inked the front cover with Picked Raspberry distress ink then misted it with water so that it could spread.(didnt turn out as expected….hey im still learning!=))
5. I then took TCW’s Mini Punchinella stencil from my stash and applied picked raspberry via an ink blending tool through its honeycomb pattern to the card base vertically on both sides….i just love this pattern!
6. I also tried to use the stencil as a mask and applied broken china and picked raspberry directly onto the stencil from the inkpad and then pressed it onto the card base.

7. I tore out two pieces of patterend paper and adhered them with foam tape vertically. I then added an inked and distressed diecut on top of them. I covered the whole piece with the same hexagonal pattern. I heat embossed the top and bottom of the stencilled pattern with Golden Ink.( which is kind of concealed between the flowers). Also i added ribbon to the bottom of the card.


8. I then took another diecut and stamped on it randomly with a Kaisercraft clear stamp in picked raspberry and also distressed it .I added heat embossed borders in gold to the diecut.
9. I stamped and heat embossed a sentiment on top in black.

10.I then embellished the card with mulberry flowers and stamens and punched butterflies. I Added stickles on top of almost everything and pearls using liquid pearls=)
11. For the inside i fussy cut stamped letters from Tim Holtz Grunge Alphabets stamp set and glued them to each step and i added glossy accents and liquid pearls over it for added dimension. I stamped a black diecut with sentiment “Bouquet of Good Wishes” and glued it to the inside.

I hope that i have made a good effort =)
Here are a few more closeups:


Products Used and bought from Artful Crafting:
1.Off White Cradstock
2. Distress Inks: Picked Raspberry, Broken China, Walnut Stain
3.Ink Blending Tool
4.Ranger Clear embossing powder
5.Colorbox pigment inks : Black, golden, silver
6. Rangers Liquid pearls: Platinum pearl
9. Various Stamps: Kaisercraft Perfume
Teressa Collins Tell a Story
Penny Black Gratitude
Other products used:
1. TCW’s Mini Punchinella Stencil.
2.Colorbok “Rosewood” paper collection.
3.Prima clear stamps: Tea Thyme.
4.Assorted Diecuts.
5.Ribbons and mulberry flowers.( Locally available)
6. Tim Holtz Grunge Alphabets Stampers Anonymous.
Please do share your feedback below =)
I hope you like My project!
Regards,
Hira Faisal

Love the card and layers!
LikeLike
Thanks!
LikeLike
Super gorgeous card! Beautifully embellished 🙂
LikeLike
Thank you!
LikeLike
Amazing Mashallah! Love all the layers and effects created using stencils!
Saba
DT Artful Crafting
LikeLike
Amazing!! ^.^
LikeLike
hehe =)
LikeLike
Hira this first attempt of yours is really creative and beautiful; keep your creativity young and innovative. All the best
LikeLike
Thank you Mumma!
LikeLike
Lovely inky layers! 🙂 glad you participated.
Artful Crafting Design Team
LikeLike
Thanks Amna!
LikeLike
Such a pretty card… Love the use of stencils and the colour choice is just wow!
LikeLike
Thanks!!
LikeLike
Wonderful project Hira! Beautiful colors.
DT member for Artful Crafting
LikeLike
Thanks!
LikeLike
Wonderful project Hira. Beautiful colors.
LikeLike